


A Step by Step guide to build a Custom HTTP Server of own in Rust
A Simple Web Server from Scratch in Rust


During my phase of learning Rust which is off-course an on going phase, I created a custom minimal HTTP server. The whole process was a great fun and I thought I should share my learning with you all. I hope this blog post will help you in designing your own custom web server from scratch in Rust. This is a very minimal and simple web server that will respond a custom static web page.
Creating a new Rust application
First of all we need to create a fresh application in Rust for that we will be using cargo. Please issue the following command in your desired working directory for a new rust cli application:
cargo new web_server
Listening to incoming TCP Connection
The first thing every web server does is to listen to any incoming TCP connections, we can also say that a web server is always in listen mode. The first task that we will be going to do is to make our server ready for listening TCP connections.Rust standard library have a module std::net that allows us to provide this functionality to our server.
We will be adding the following code in our src/main.rs file to make our web server ready for listening any TCP connections.
/* Simple HTTP Server */
/* Author : Ramesh Vyas */
use std::net::TcpListener;

fn main() {

    /* Creating a Local TcpListener at Port 8477 */
    const HOST : &str ="127.0.0.1";
    const PORT : &str ="8477";

    /* Concating Host address and Port to Create Final Endpoint */
    let end_point : String = HOST.to_owned() + ":" +  PORT;

    /*Creating TCP Listener at our end point */
    let listener = TcpListener::bind(end_point).unwrap();

    println!("Web server is listening at port {}",PORT);

    /* Conneting to any incoming connections */
    for stream in listener.incoming() {
        let _stream = stream.unwrap();

        println!("Connection established!");
    }

}
The first two lines of the above code is to create constants for the host-address and port we will be using to create the end-point where our web server will be listening to any incoming connections. For now we are using the local system address (127.0.0.1) and port as 8477.
Next we have concatenate the two constant values (host and port) to make a single end-point to be passed to bind method of TcpListener. After making a single end-point string we have created a listener variable and used bind function of TcpListener to start our server in listening mode.
The last loop prints out "connection established" whenever a new client try to connect our listening server. The incoming method on TcpListener returns a sequence of TcpStreams in which each individual stream represents an open connection between client and server.
Test the server is working or not
Try running the above code and see whether it works as expected, for this issue the following command on terminal :
cargo run
We see server is running in listen mode as expected and we got the following message :
Running
target/debug/web_serverWeb server is listening at port 8477
Now open any web browser and hit this url http://127.0.0.1:8477 in the address bar you will see our server now respond the following message :
Connection established!
Connection established!
Connection established!
Connection established!
Don't get panic to see multiple messages because our web server is making request for multiple resources from the server our may be also client have not received any response from server and it is trying again to make a connection request.
Now stop the server for now by pressing ctrl+c and move on to the nest step.
Make our server ready to read the incoming request
Till now we have tested that our server is listening to any incoming connections. Next step is to allow our server to read and process any incoming HTTP request from the browser and respond back with the appropriate response.
For this we will create a new function handle_connection to process incoming connections. Now our code looks like this :
/* Simple HTTP Server */
/* Author : Ramesh Vyas */
use std::io::prelude::*;
use std::net::TcpListener;
use std::net::TcpStream;

fn main() {

    /* Creating a Local TcpListener at Port 8477 */
    const HOST : &str ="127.0.0.1";
    const PORT : &str ="8477";

    /* Concatenating Host address and Port to Create Final Endpoint */
    let end_point : String = HOST.to_owned() + ":" +  PORT;

    /*Creating TCP Listener at our end point */
    let listener = TcpListener::bind(end_point).unwrap();

    println!("Web server is listening at port {}",PORT);

    /* Conneting to any incoming connections */
    for stream in listener.incoming() {
        let _stream = stream.unwrap();

        // Call function to process any incomming connections
        handle_connection(_stream);
    }

}

fn handle_connection(mut stream: TcpStream) {
    let mut buffer = [0; 1024];

    stream.read(&mut buffer).unwrap();

    println!("Request: {}", String::from_utf8_lossy(&buffer[..]));
}
Again run the server using cargo run and try to connect from browser we will see response from server. We have use std::io::prelude which allows us to read and write to the incoming stream. We have called the handle_connection function and passed the incoming connection stream to it and this function prints the incoming request data from the stream.
Handling HTTP Requests and responding back
HTTP is a text base protocol and have following formats for request and response :
Request Format
Method Request-URI HTTP-Version CRLF headers CRLF message-body
Response Format
HTTP-Version Status-Code Reason-Phrase CRLF headers CRLF message-body
We will for now send the following response HTTP/1.1 200 OK\r\n\r\n which specifies a status code 200 means OK, this text is a HTTP success response. For this we have to make simple change in our handle_connection function as follows :
fn handle_connection(mut stream: TcpStream) {
    let mut buffer = [0; 1024];

    stream.read(&mut buffer).unwrap();

    let response = "HTTP/1.1 200 OK\r\n\r\n";

    stream.write(response.as_bytes()).unwrap();
    stream.flush().unwrap();
}
This time when we send request from our web browser we will see a blank page instead of error page, that confirms we received a HTTP Ok response.Hurry our server has responded congratulations.
Sending a static HTML page response
It will be great if we can send any static HTML page when ever a client request to server instead sending just 200 OK response.For this create a new html file, index.html, in the root directory (not in the src directory) and put any HTML code you want to send.
Include std::fs library at the top and make following changes in handle_connection
fn handle_connection(mut stream: TcpStream) {
    let mut buffer = [0; 1024];
    stream.read(&mut buffer).unwrap();

    let response_contents = fs::read_to_string("index.html").unwrap();

    let response = format!(
        "HTTP/1.1 200 OK\r\nContent-Length: {}\r\n\r\n{}",
        response_contents.len(),
        response_contents
    );

    stream.write(response.as_bytes()).unwrap();
    stream.flush().unwrap();
}
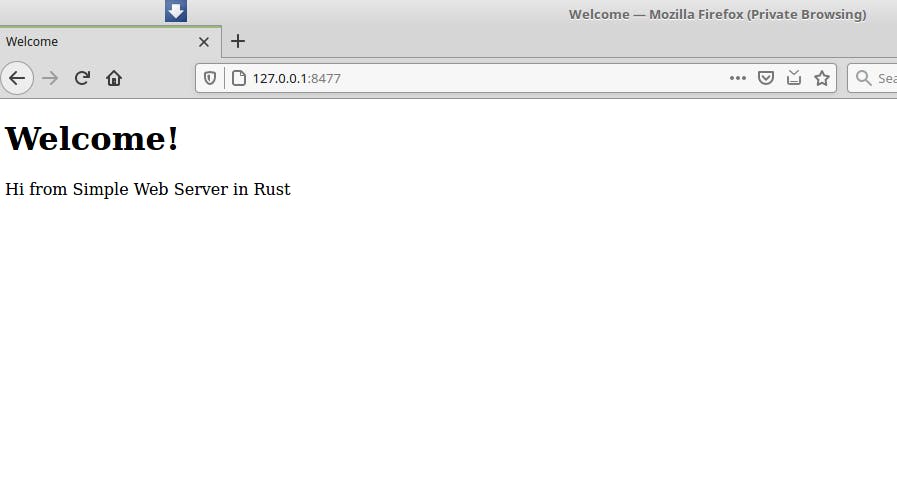
Start the server again by cargo run and hit the url back in the browser. And what you see is your own custom Web Server is working like charm. you will see the following output.
Thank you for stopping by and giving a read to this guide, I hope this guide will help you out to write your own web server in Rust programming language.
The complete code for this article can be found at my github repository